For the best experience possible, we have created a VS Code extension that helps with development and testing of the exporters. It allows you to access the contents of the design systems directly from the VS Code and can simulate how the exporter will behave when used in the delivery pipelines.
1. Install the extension
- Open up VS Code and head over to the extension marketplace.
- Search for "Supernova".
- Click Install.
You’ll see the Supernova icon pop up on the left. That means you’re good to go!

2. Obtain your developer key
Next, you'll need your developer key to allow the extension to safely access your design systems.
- Make sure you've got a Supernova account.
- Go to Supernova Cloud > Your personal profile (top right corner) > Authentication.
- Click to generate a new token. Keep it safe; you'll need it in a sec.

If you lose the token, you will have to generate it again.
3. Log in to the extension
Now, head back to VS Code and click on that shiny new Supernova icon.
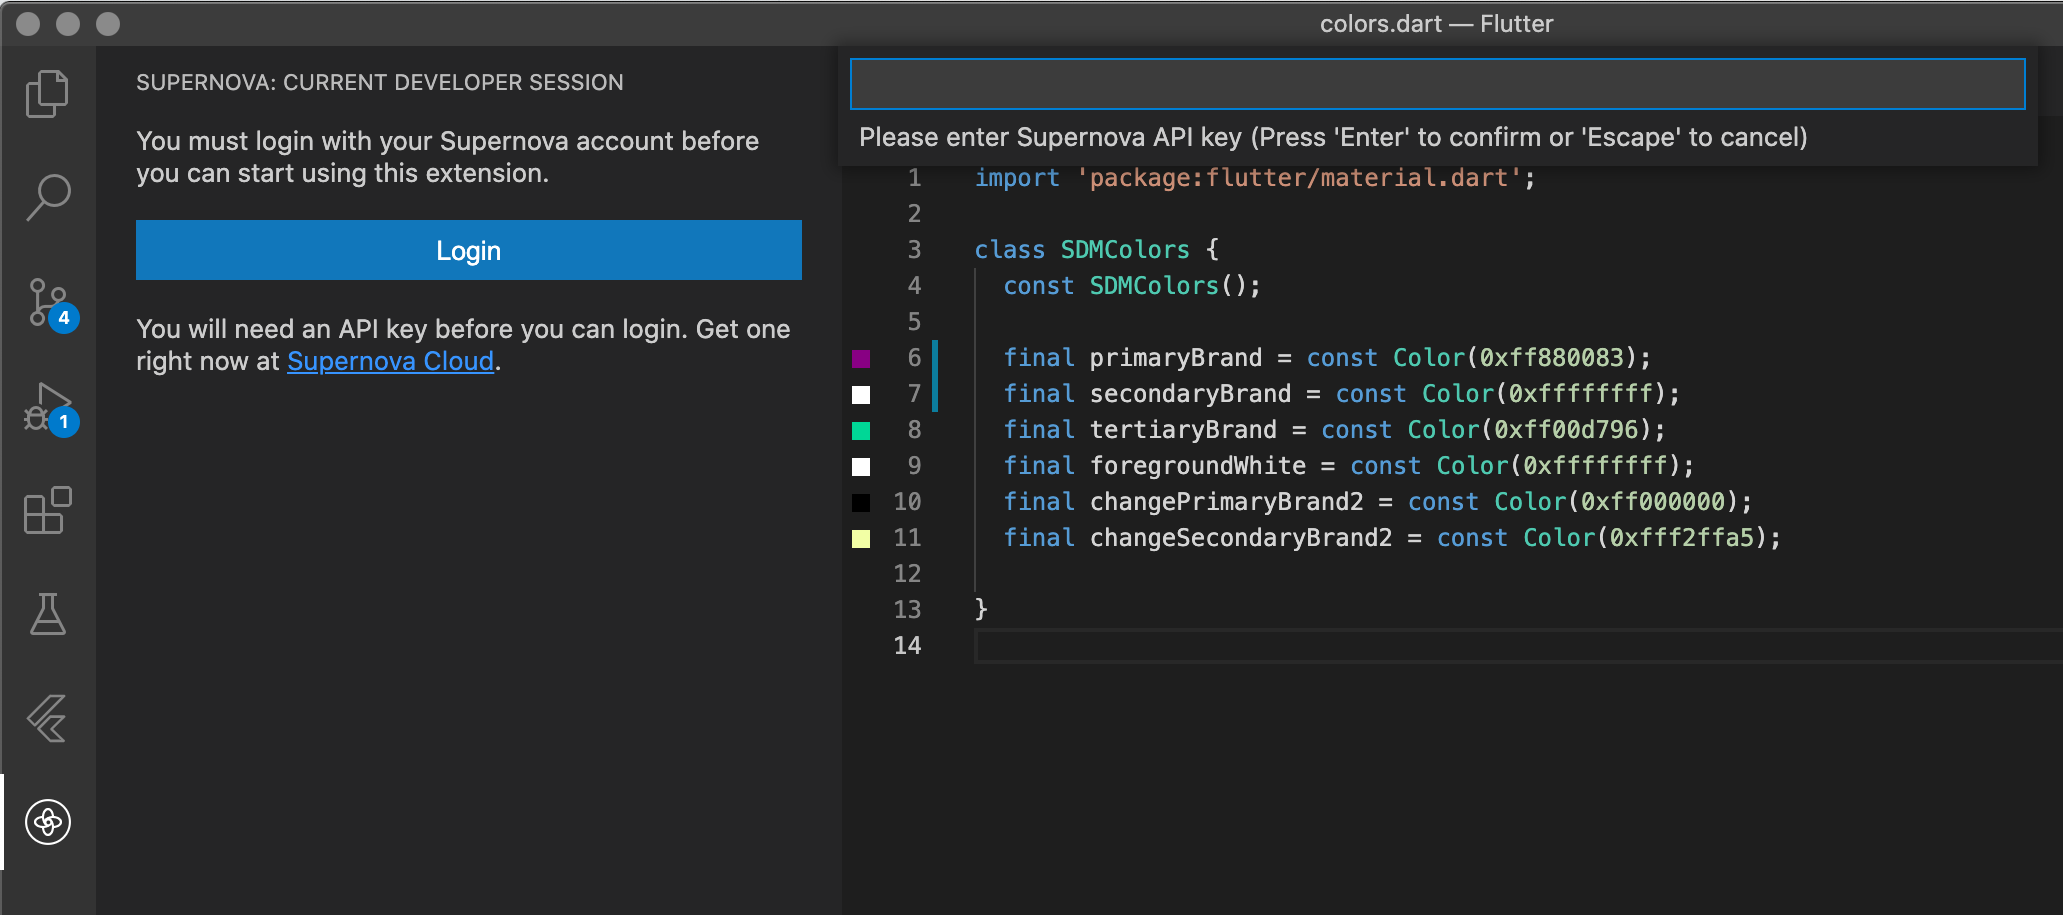
- You’ll see a “Login” option. Click it.
- Paste in your developer key and hit Enter.

Paste the access key and VSCode is ready to be used.
If everything went through, you'll see an option to select a workspace, design system and other options. Select which one you want to use for building (you can always change it down the road) and confirm your selection.
4. Optional: Optimize developer experience
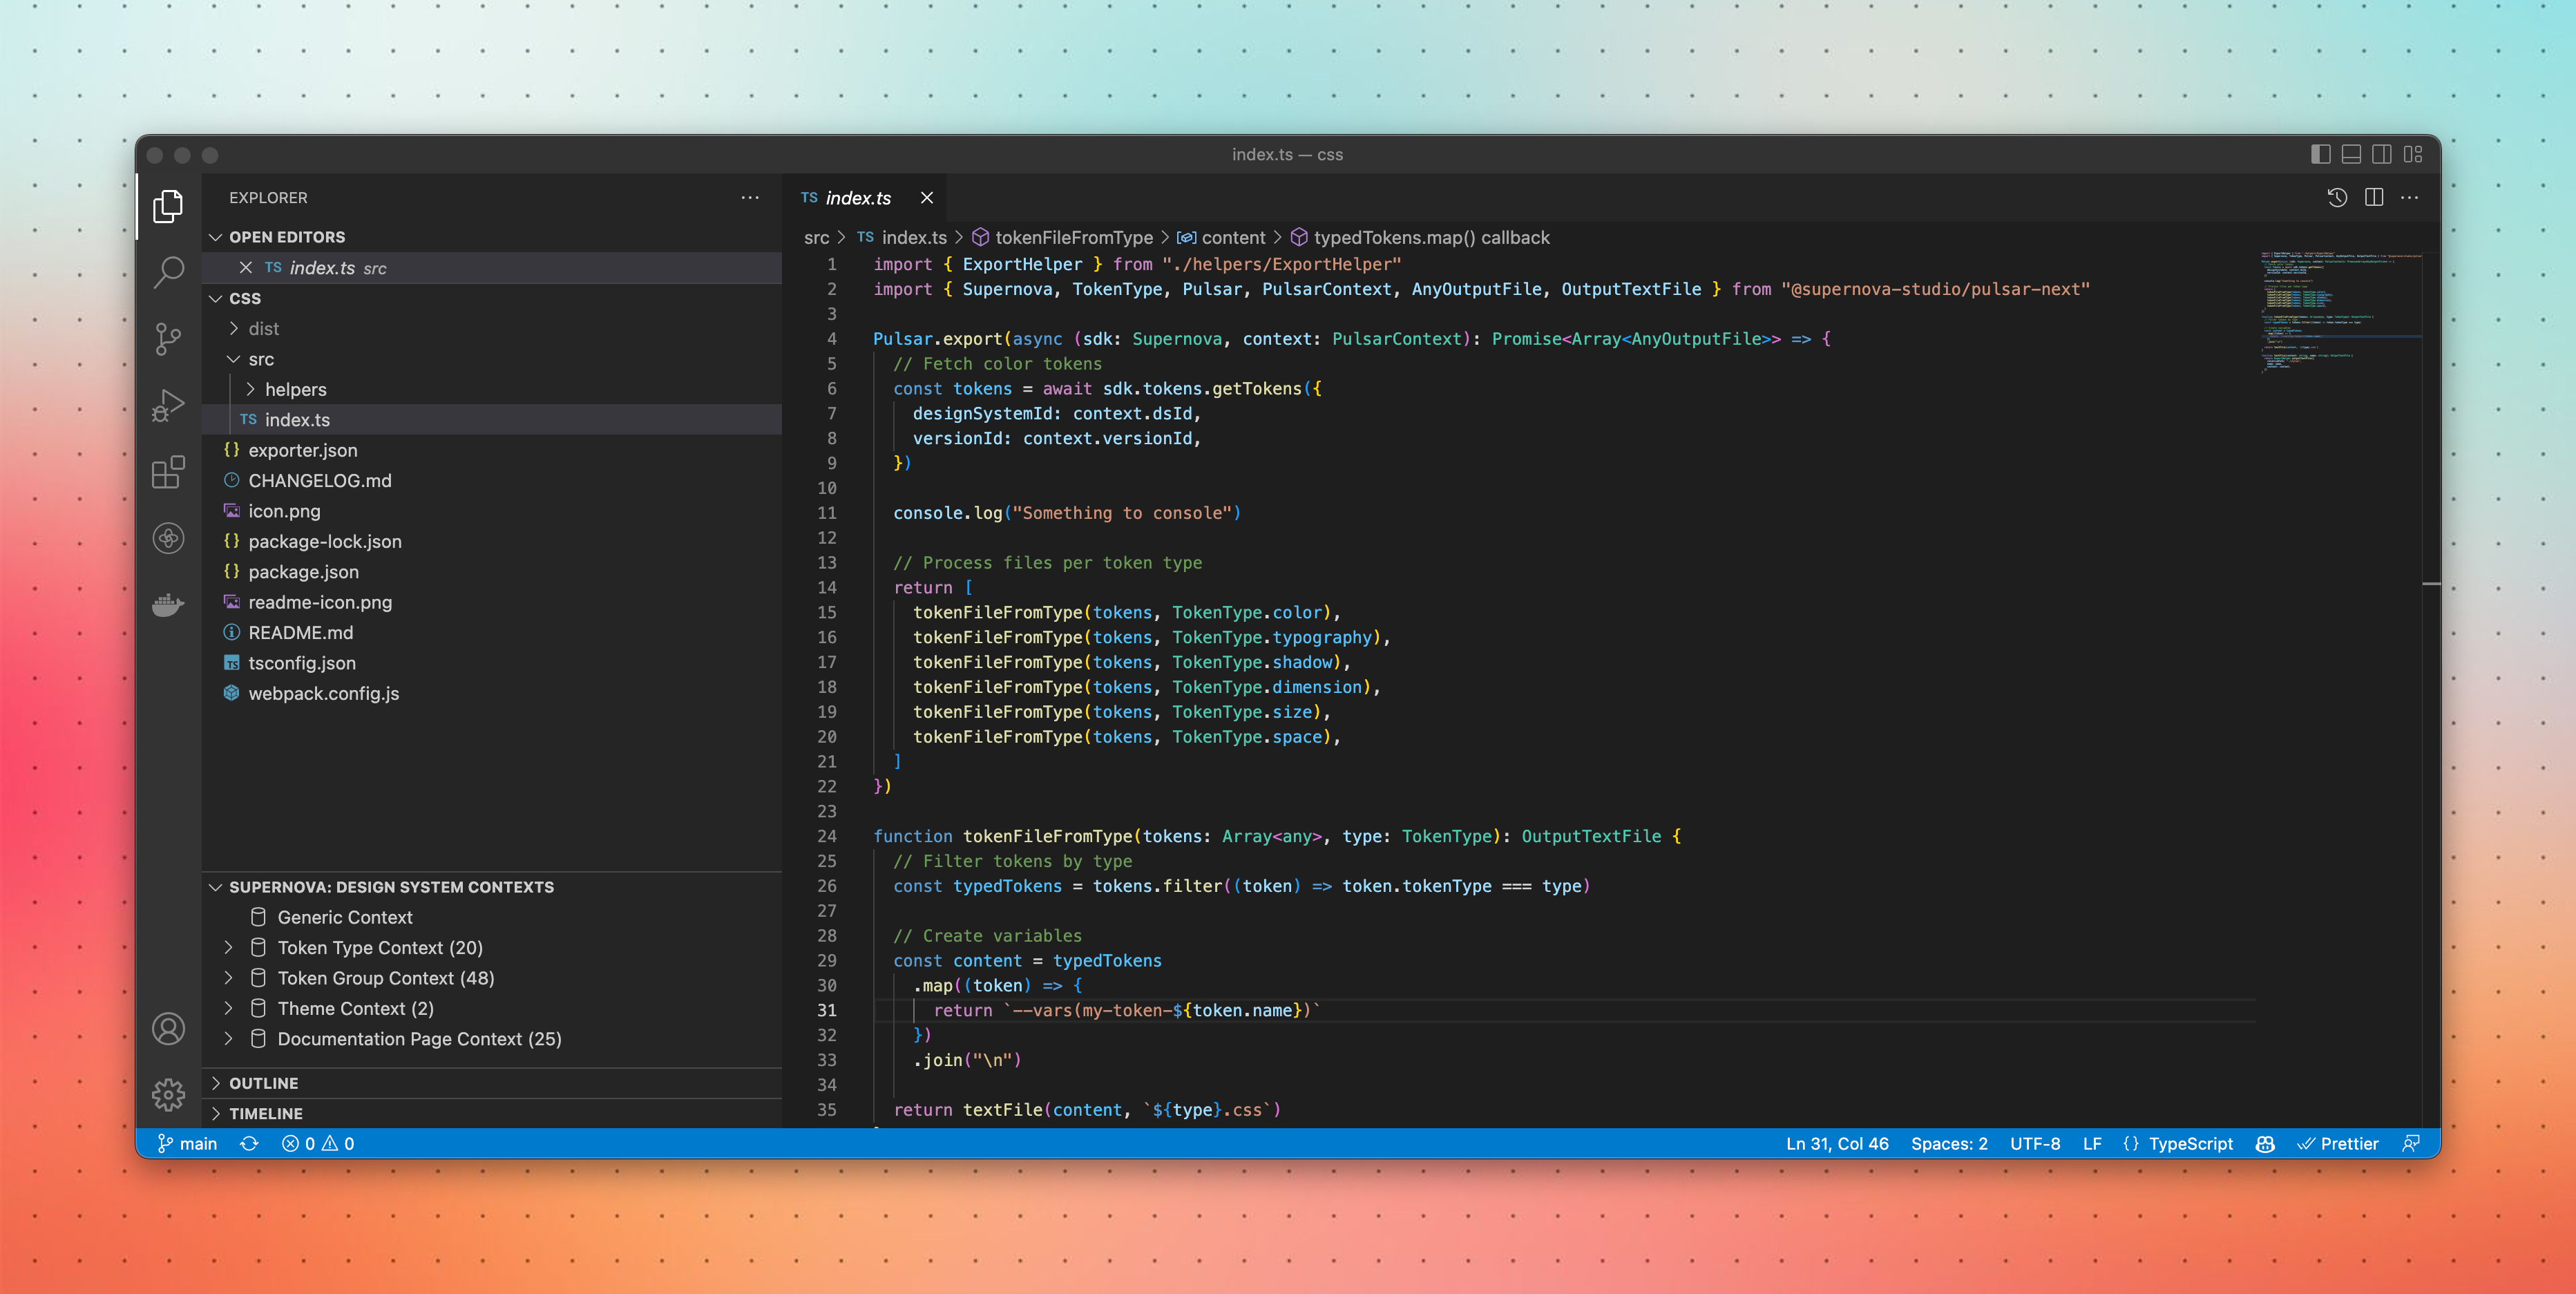
When building exporters (specifically, when you have opened any exporter root folder), you'll notice that the Supernova extension switches to development mode, giving you an additional panel that you can use to access your design system content and run the exporter in debug/production mode.

A new tab will appear, signifying active connection to the design system.
We strongly recommend you move the design system contexts tab to the file browser, simply by dragging it and moving it to the file explorer tab, like in the picture above. This will make it easy for you to both build and run an exporter at the same time.
That's it! With everything prepared, let's get building.